

Replay Editor Guide
Hey Survivors,
Update 24 brought brand new ways to play PUBG with Vikendi, a new vehicle, and a new weapon, but it also brought a better way to share those experiences with the world. The new PUBG Replay Editor is now live and gives players the tools they need to turn the automatically saved replays of their games into dynamic video clips that let you show off the action of your matches in a way simply recording the screen never could. Adjust camera angles, apply special effects, and export your creations for easy sharing. Just how much can you adjust? Well, the new Replay Editor was used to capture the footage for our Official Vikendi In-game trailer, linked below.
In this article, we’re going to show you how to use the new editor functions as well as some of the quick keys that make navigating much easier.
First, you’ll need to open a replay file from the in-game menu. Once inside the replay, you can open the timeline using the J key. Clicking on the Edit button at the bottom right will then start Replay Editor mode. 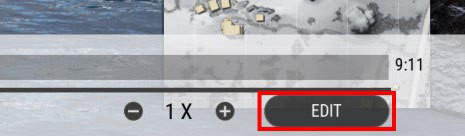
Key Frames determine where your editing actions begin.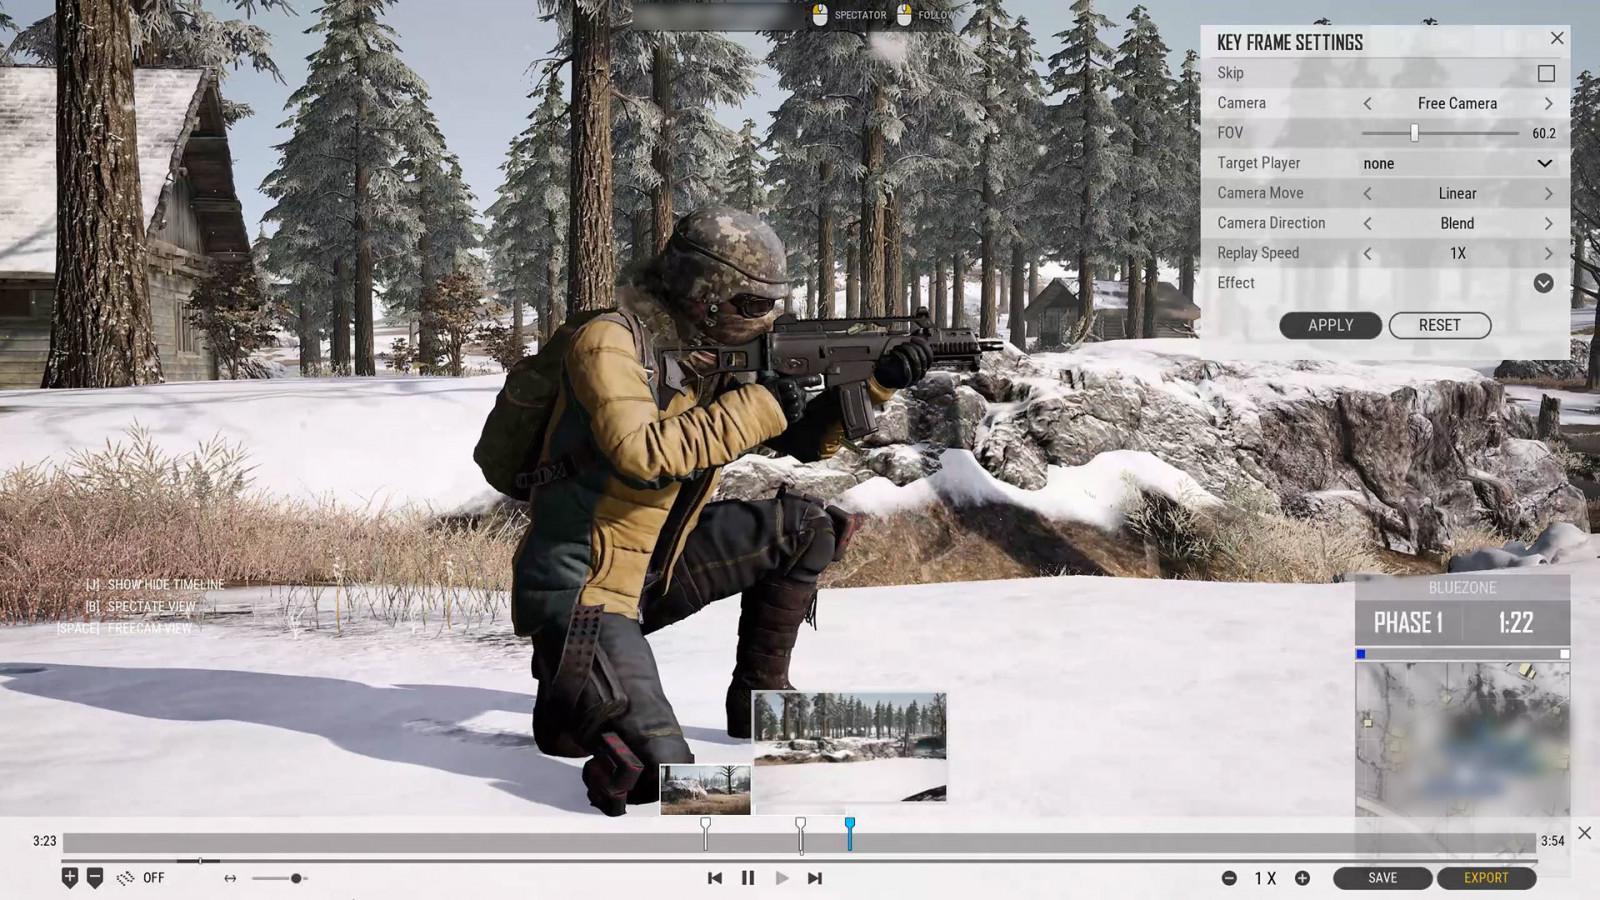
When a Key Frame is generated, the current camera location is saved. When you press play, the camera will move between the saved Key Frames to create a camera path. 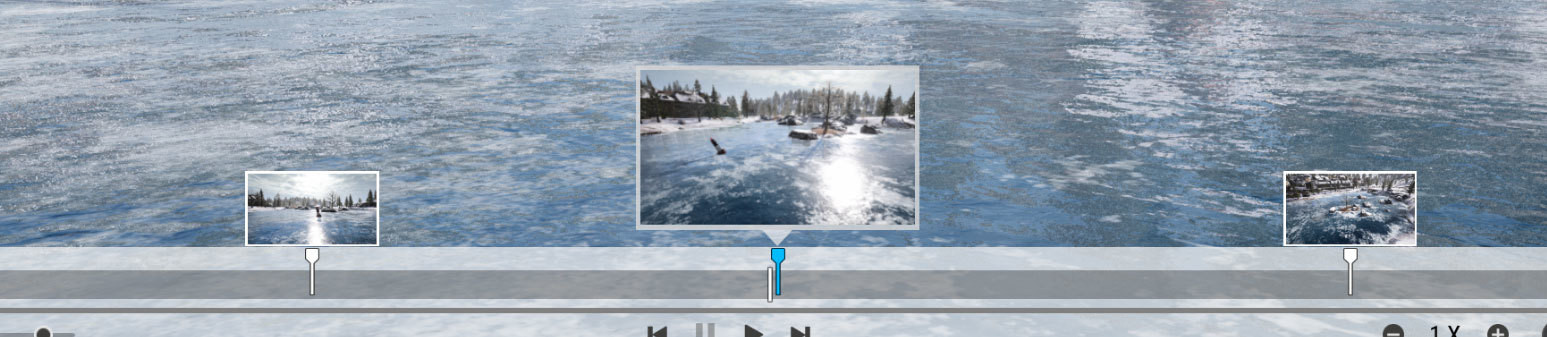
Markers and thumbnails will also be created on the timeline when Key Frames are applied, allowing you the ability to select your Key Frames easily. 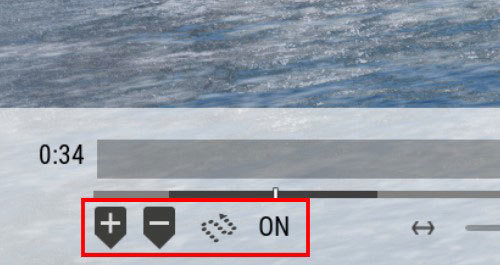
(Located on the bottom left of the timeline: Add Key Frame , Delete Key Frame, Camera Path On/Off (from left to right))
If you want to check the camera’s current movement path, you can activate the camera path option after your Key Frames have been generated.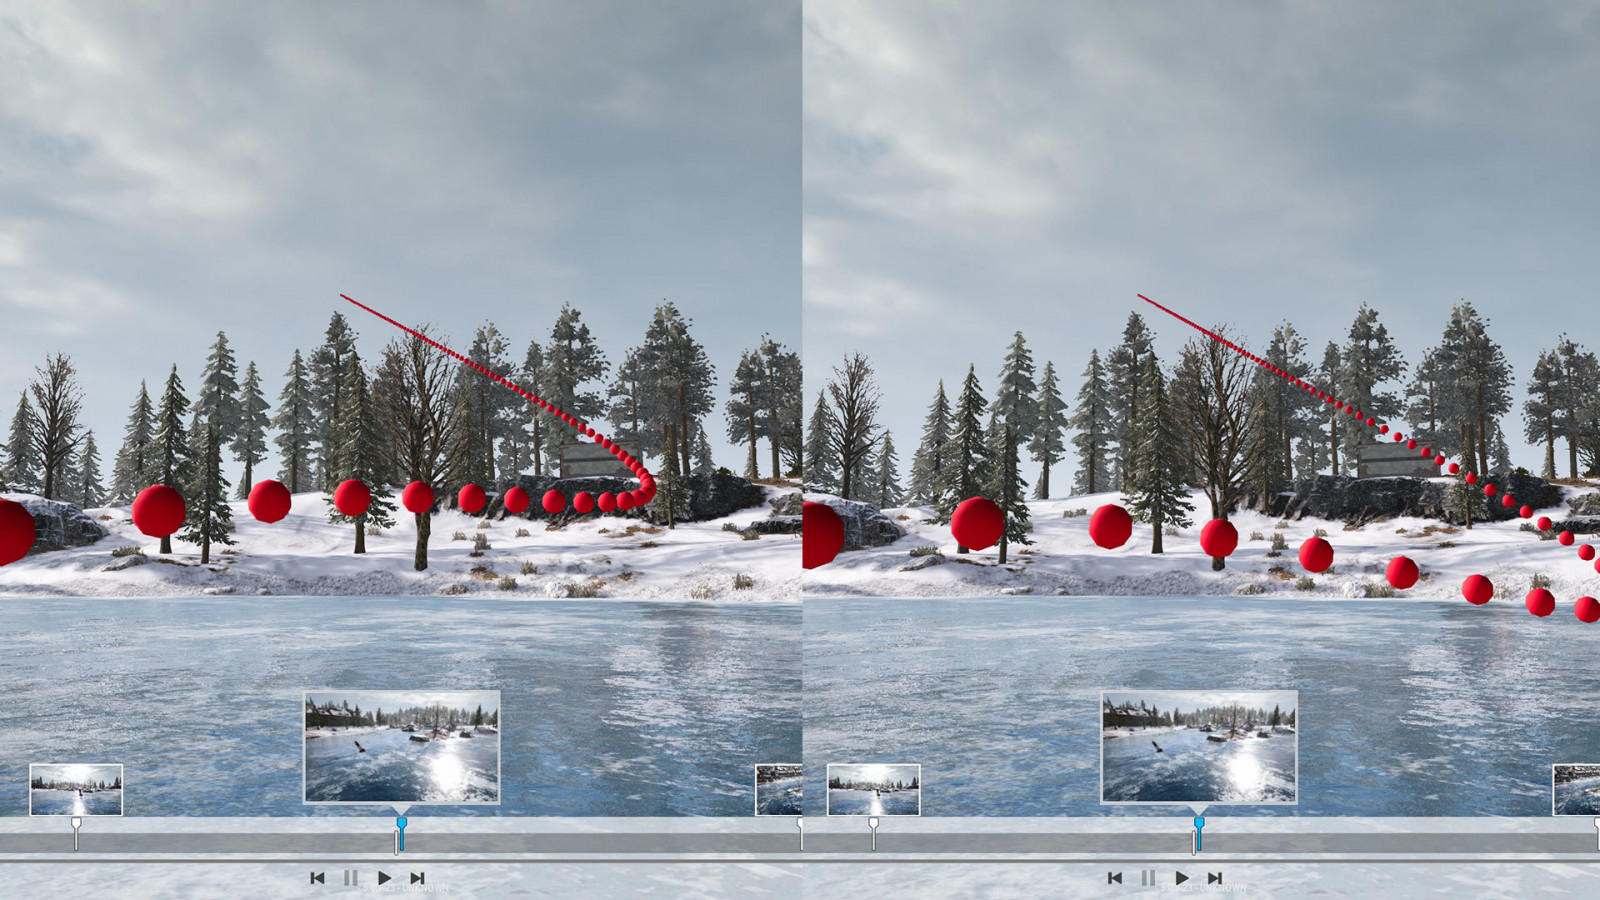
(How the camera path shape changes depending on the camera movement setting)
Key Frame properties include options such as skipping the current Key Frame section, setting the targeted player, and toggling curved or linear camera movement.
Skip
- Set a key frame portion that you wish to exclude from the video play.
Camera (Free / Player / Follow)
- The camera path set between Key Frames will be ignored if Player Camera or Follow Camera are selected for the current scene.
FOV (5~170)
- Set the camera’s FOV
Target Player
- Select the player you want the camera to target. If there is no set target player, the camera will move as you’ve directed between Key Frames.
Camera Move (Linear / Curved)
- Select either linear or curved camera movement
Camera Direction (Blend / Fixed / Orient to Path)
- The direction the camera faces has three different options:
- Blend: The camera faces the direction it was looking when the Key Frame was created
- Fixed: maintains the direction set when the key frame was added
- OrientToPath: The camera will face the direction of the camera path
Replay Speed (0.25X ~ 2X)
- You can adjust the playback speed of the current Key Frames to speed up or slow down the action.
Effects are used to retouch you replay footage. 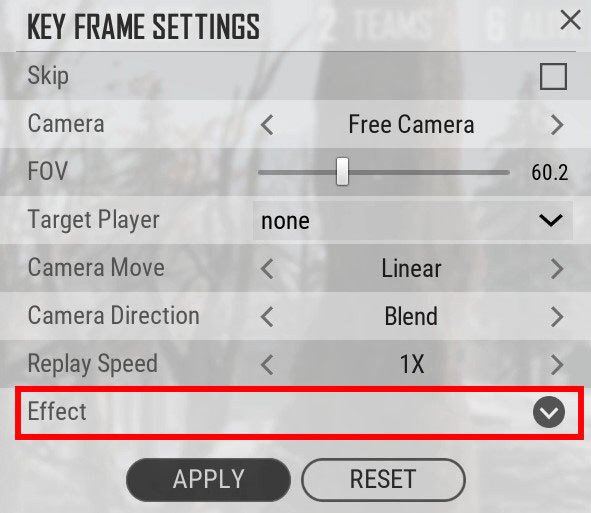
The Effect function can be found at the bottom of the Key Frame menu, and the dropdown menu there can be expanded to view all available options.
Depth of Field
- Sets the camera depth of field.
Gaussian / Bokeh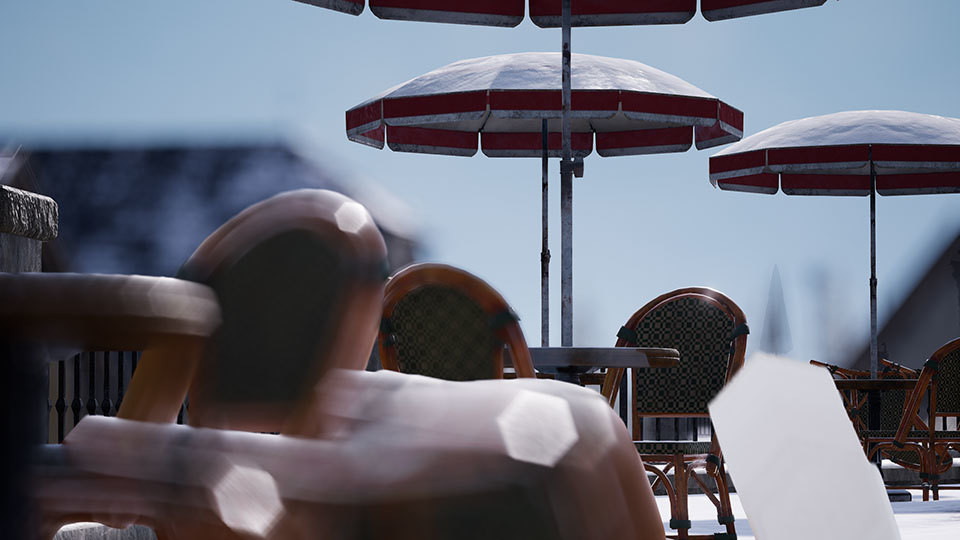
Bokeh is specifically the out-of-focus areas of an image.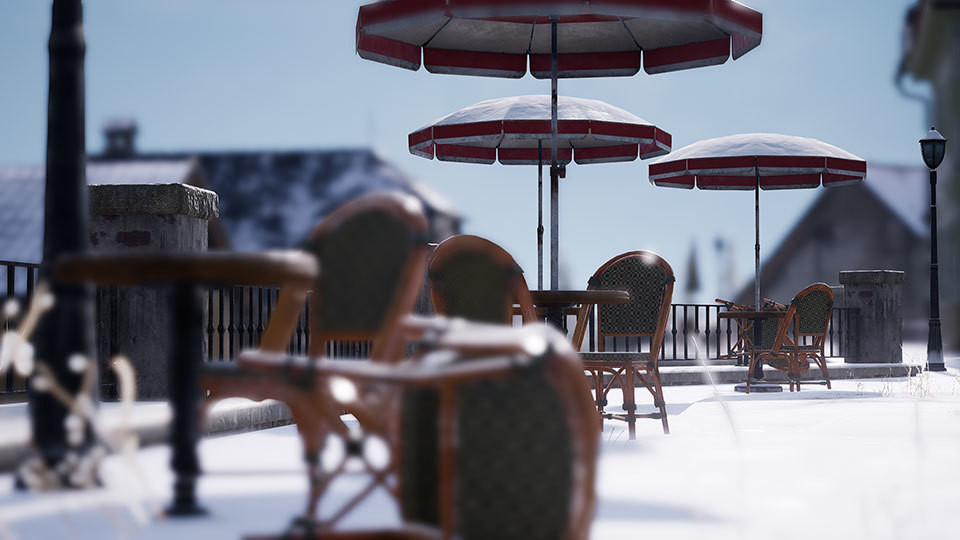
Gaussian blur is an algorithm to fog selected image areas, to hide details or make them look out of focus.
Color Grading (Bleach/Warm/Winter/Fall/Bleak/Horror/Sunset/Moonlight)
- Sets the color tone of the screen
Bloom (1~100)
- Adds a glow-like effect to lighting and gives sunlight or other bright lighting a more dramatic effect
Vignette (1~10)
- Darkens the peripheral area around a designated spot in the center of the screen.
The Effects function includes settings frequently found in video editing software, but is simplified so that even those who have no prior knowledge of the effects listed above can apply them easily via the UI. More advanced users with their own editing software can apply their own effects once their clips have been exported.
Effects such as screen filters and vignetting effects are saved in the Key Frame, and whenever Key Frames are played, the saved effects will be applied.
The following images show a before and after of some Effect menu options: 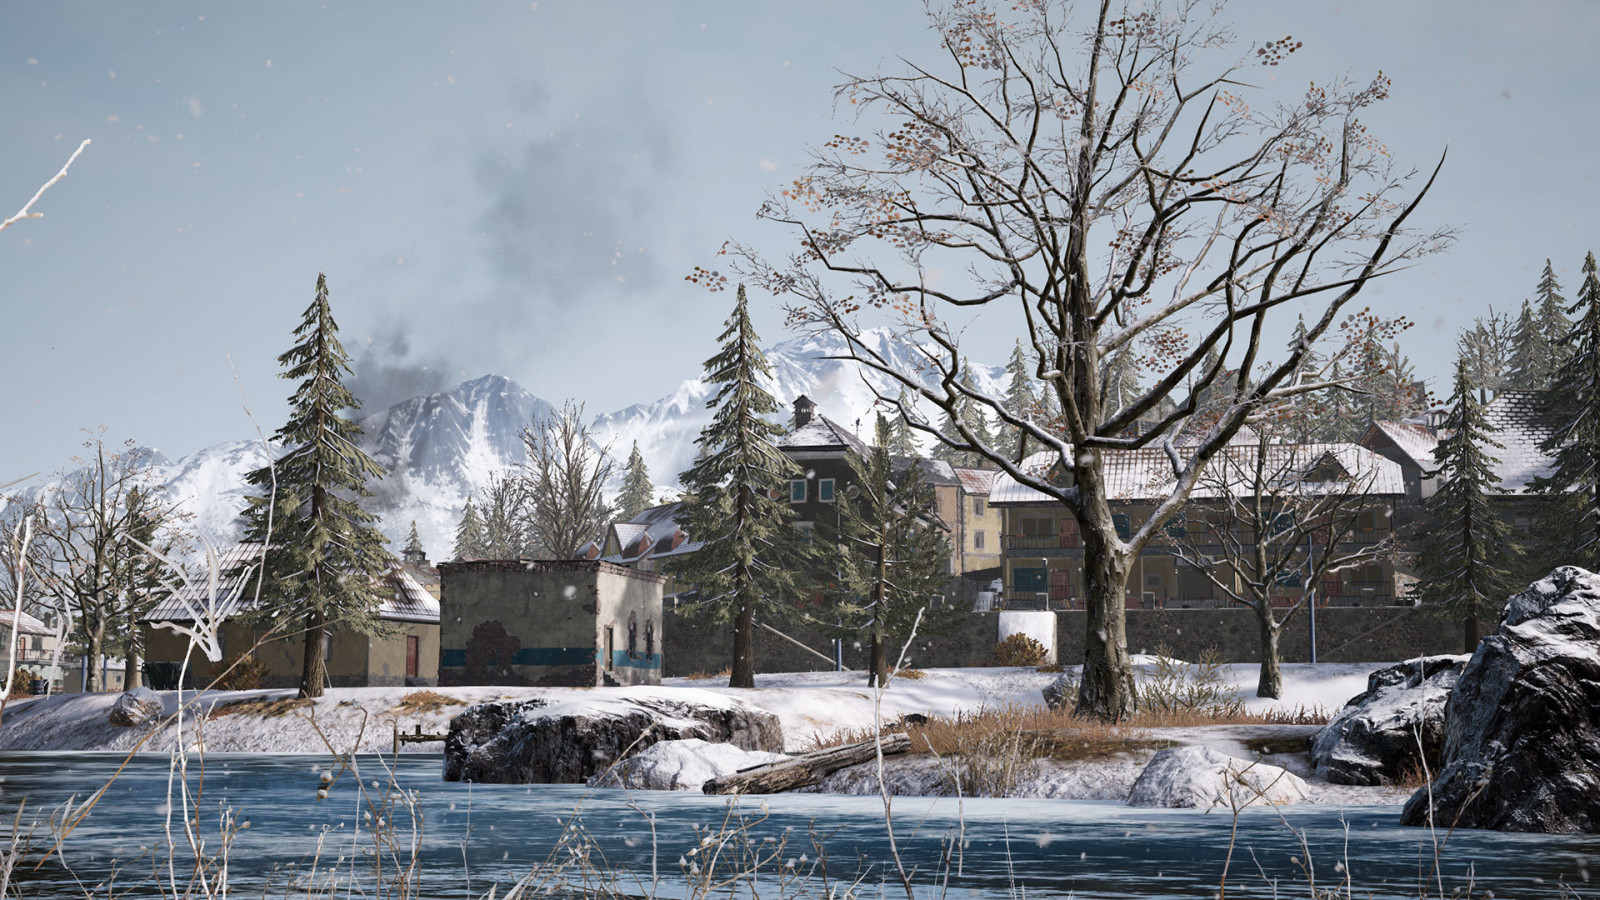
(No effect) 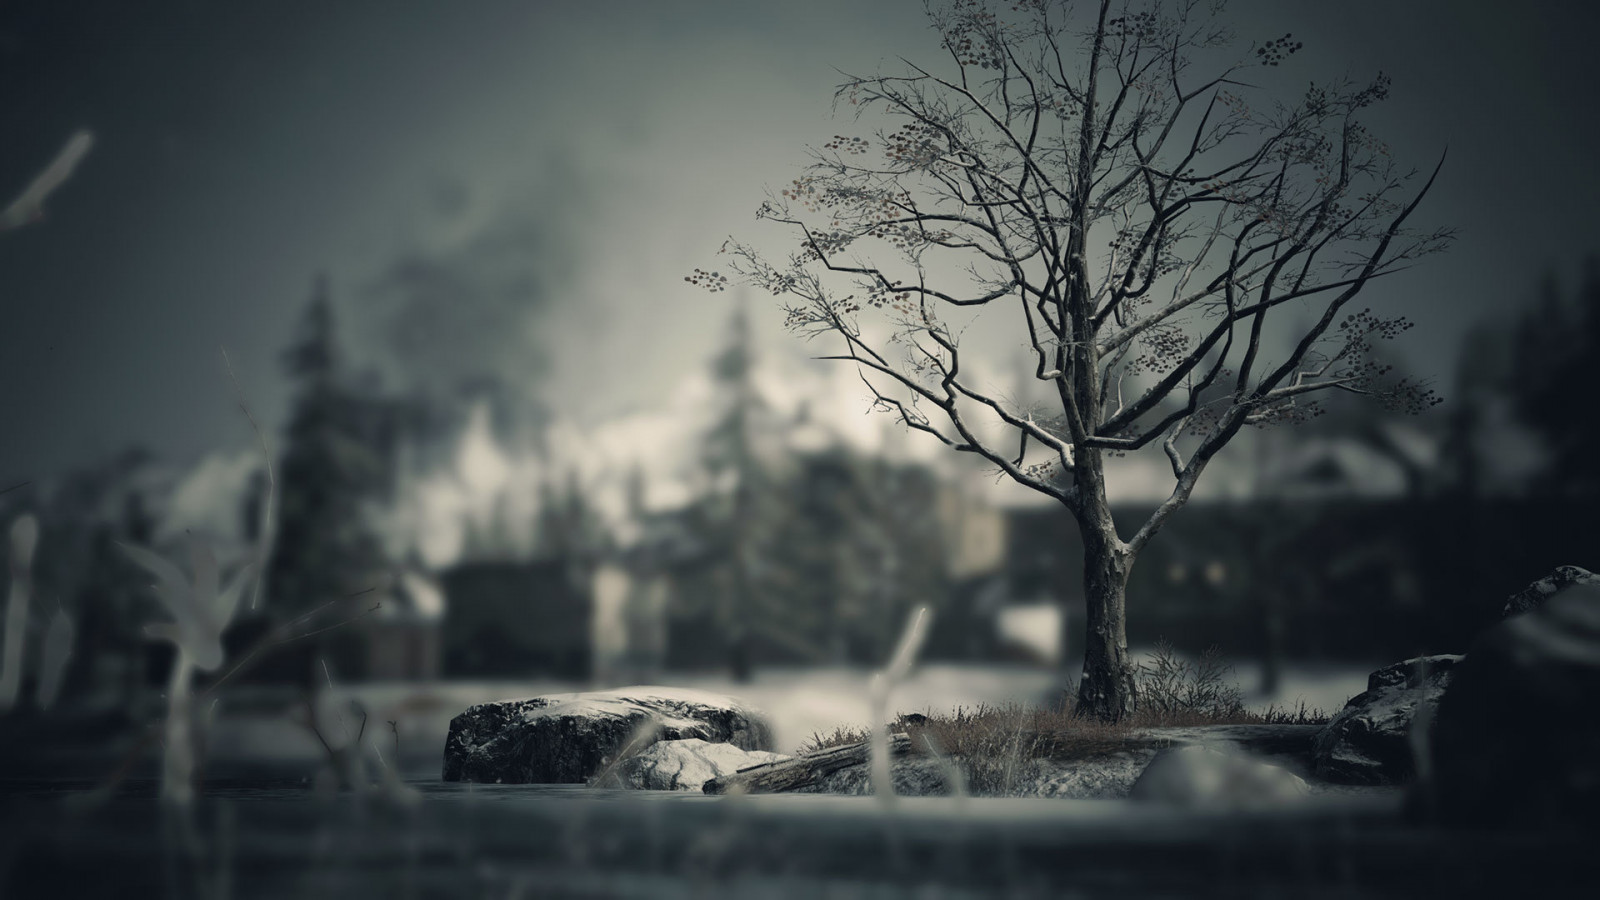
(All effect - DoF, ColorGrading, Bloom, Vignette)
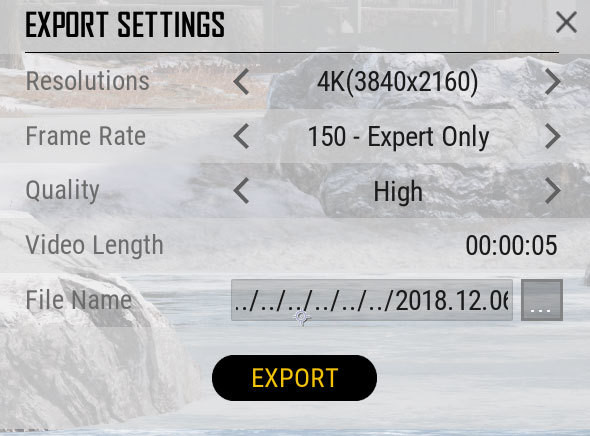
The Export function extracts images directly from the game, based on the start and end of your generated Key Frame. 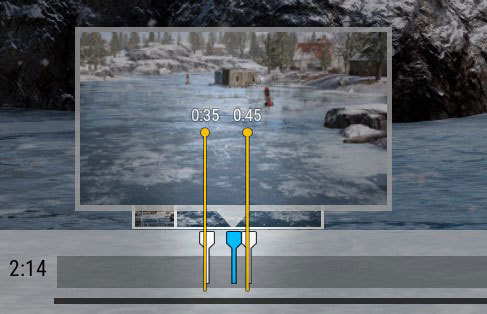
The biggest advantage to using Export over simple screen capture is it allows you to extract high quality videos with stable frame regardless of your computer specs, though hardware may still impact the time it takes to extract higher resolutions and frame rate clips.
Resolutions (Game Setting / HD / FHD / 4K)
- There are a variety of higher resolution options, but higher quality may increase export time.
Frame Rate (18 / 24 / 30 / 60 / 120 / 150)
- Lower frame rates will allow for a faster export speed and smaller file size.
Quality (Low / Middle / High)
- You can choose the quality of the saved video.
Video Length
- This displays the total length of the video.
File Name
- You can view and edit the exported file’s name.
We’ve added a number of new quick keys for convenience in the Replay Editor.
Save | CTRL+S
Export | CTRL+E
Apply (Key Frame Setting Panel) | ALT+A
Reset (Key Frame Setting Panel) | ALT+R
Cancel (Export Pop-up) | ALT+C
General view→ Move to Edit Mode | CTRL+J
Edit Mode → Move to General view | CTRL + Q
Hide UI during the edit mode | CTRL + U
Hide Timeline | J
Switch Character Spectate | B
Switch Pre-cam | SPACE
Replay Editor gives you more control over your PUBG clips and allows you to tell the story of your best matches in grand new ways. Use it from start to finish to create a sharable clip or drop your exported file into video editing software and add your own personal touches.
There are some bugs and known issues to work through and surely some more cool features that could be added, so your feedback on this system is greatly appreciated.
We’ve seen some amazing video creations already and are excited to see what these new tools allow you to create. Thanks and happy editing!


![Watch Alone วันนี้ต้องเอา !!! [ Day 2 ] GOTF 2026 Astana](https://static-cdn.jtvnw.net/jtv_user_pictures/b41cae4c-311b-4529-80d7-89724eadf9dd-profile_image-150x150.png)


![[LIVE] Watch Party - เชียร์! MiTH x FULL SENSE 🏆Games of the Future 2026 - Day 2](https://static-cdn.jtvnw.net/jtv_user_pictures/cyberclasher-profile_image-6929261829799707-150x150.png)
Comments